Export a Form
To export a form, it must first have been completed. Available forms will be located in Completed Records:
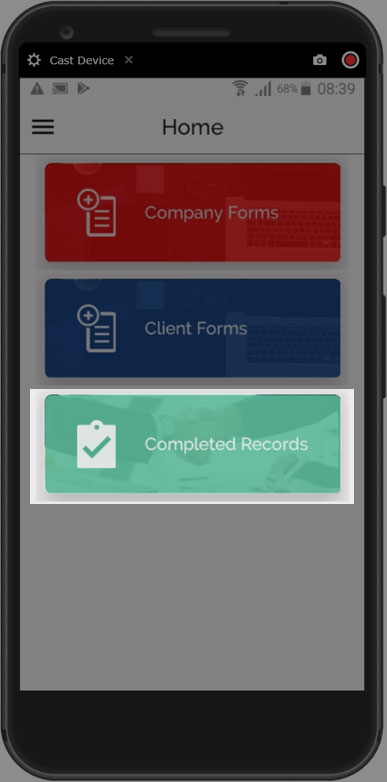
Completed records will be located in...surprise, surprise!... Completed Records
You'll see your completed records:
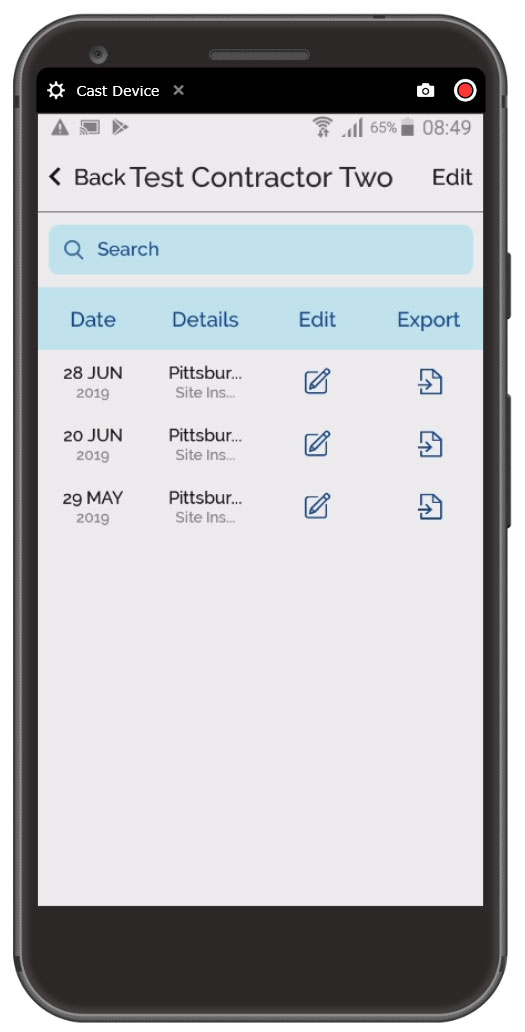
Your completed records will be listed here
- Locate the record you wish to export and click on the Export button for that record. The Change Pdf name dialog will display:
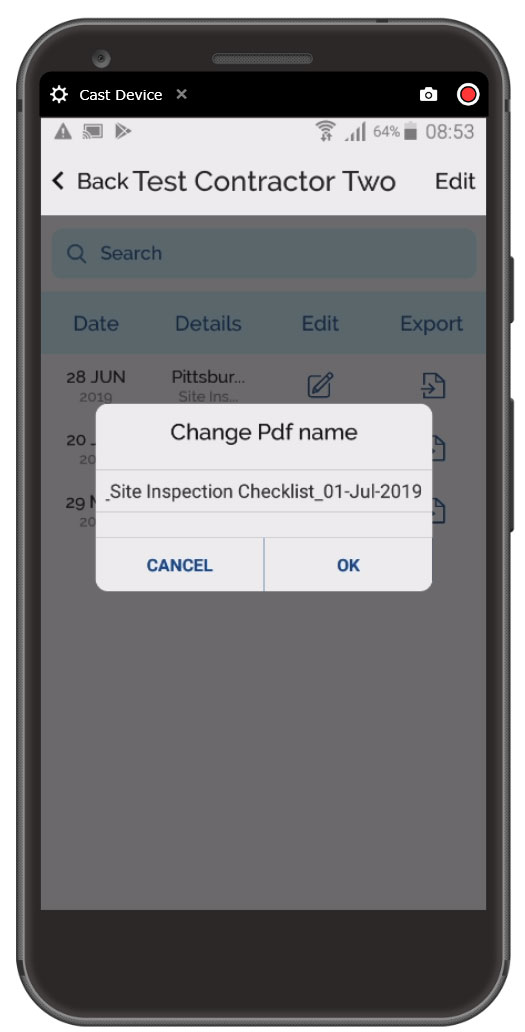
This uses the naming convention of 'default file name_date'. We advise leaving this as-is because it works and is searchable
-
If you do want to change the file name, then click on the greyed-pdf name and edit as required.
-
Once complete, click on Ok.The dialog will close, and you will be shown a preview of the form:
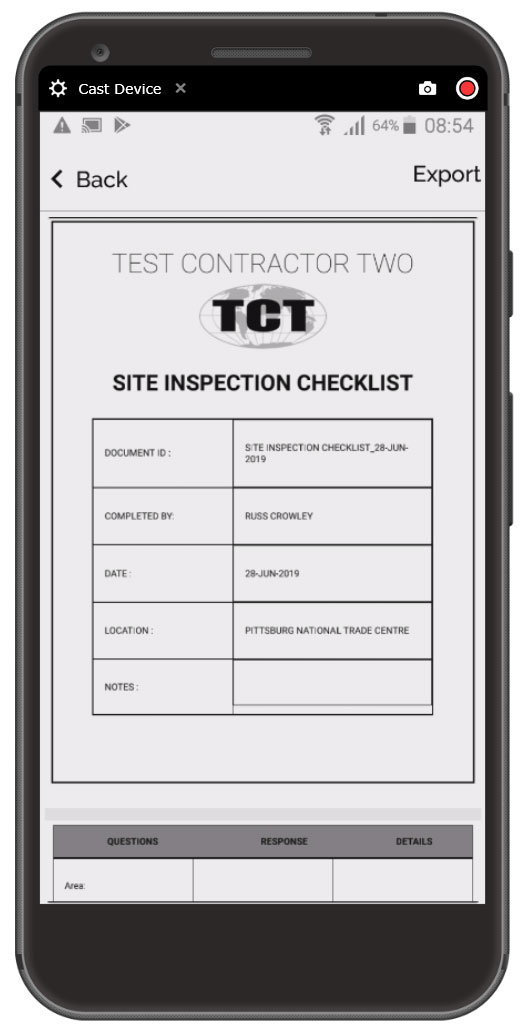
A sample preview of your completed form
You can scroll down to view additional pages.
- Once you’re ready to continue, click on the Export button and the Export To dropdown will display, where you can:
- Export to CASSA - this will export it to the CASSA system (we show this in the tutorial video)
- Export via email - no surprises here: you email this to whomever you want
- Share - other share options as per your device
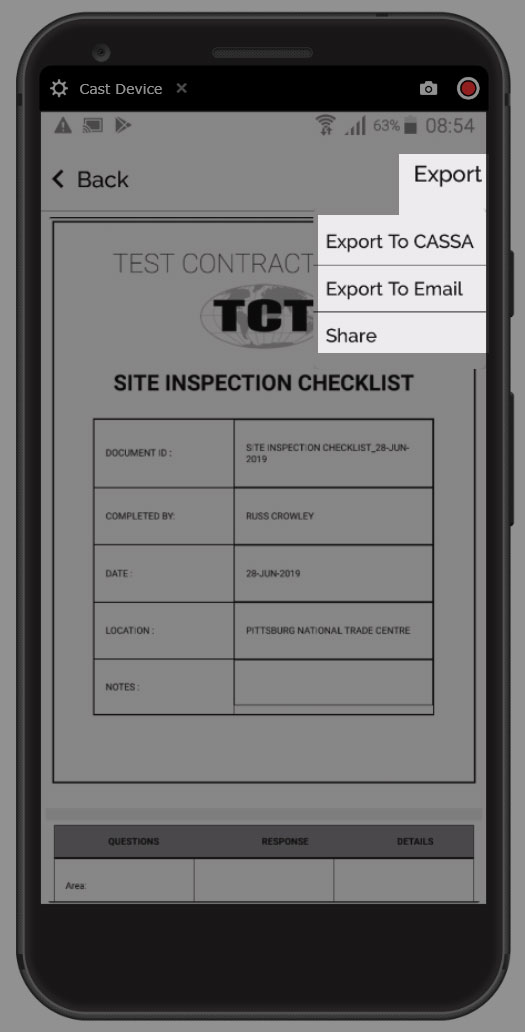
- Select your required option.
Export to CASSA
If you select to export to CASSA, you are given 3 options:
- Management System
- Company Projects
- Client Projects
Note: the export to client projects process differs slightly, and is covered in detail in export client forms (click here).
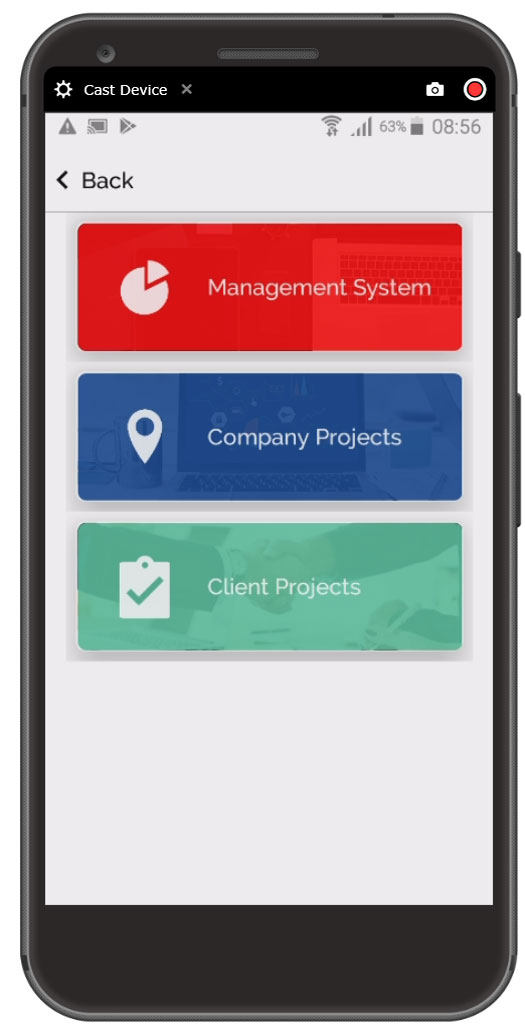
You can export to either the Management System, to Company Projects, or to Client Projects
- The menu options you're presented with will be determined by your selections.
For this example, we were creating a Weekly Site Inspection Report, which is a Company Form.
Selecting Company Projects allows us to drill-down further, as follows (as shown in the image below. Click on the image to enlarge it):
i. Projects (item 1)
ii. Registers (item 2)
iii. Sub-registers (item 3)
iv. Weekly Reporting Requirements (item 4)
v. Site Inspection (item 5)
vi. Reaching the lowest level in our hierarchy, we now click on Submit
- We then receive notification that the form was uploaded to CASSA successfully (item 6).

You'll be able to drill-down into registers or locations depending on which option you choose
- Click on the Submit button and the form will upload. Once done, the success message will display:
Export via Email
The export via email will use the functionality that's set/standard on your device.
Add the required information to the email, such as To, Subject line, etc., and, when ready, click on Send.
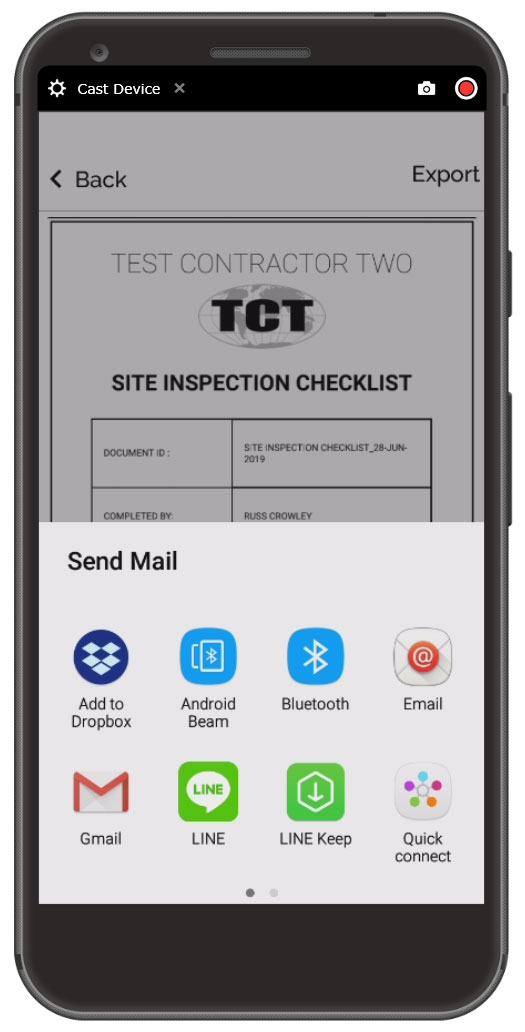
The Send Mail screen (your device's options may differ)
I'm going to select GMail for this example. No need to run for the hills with this one, Gmail opens and I can mail the record as per normal.
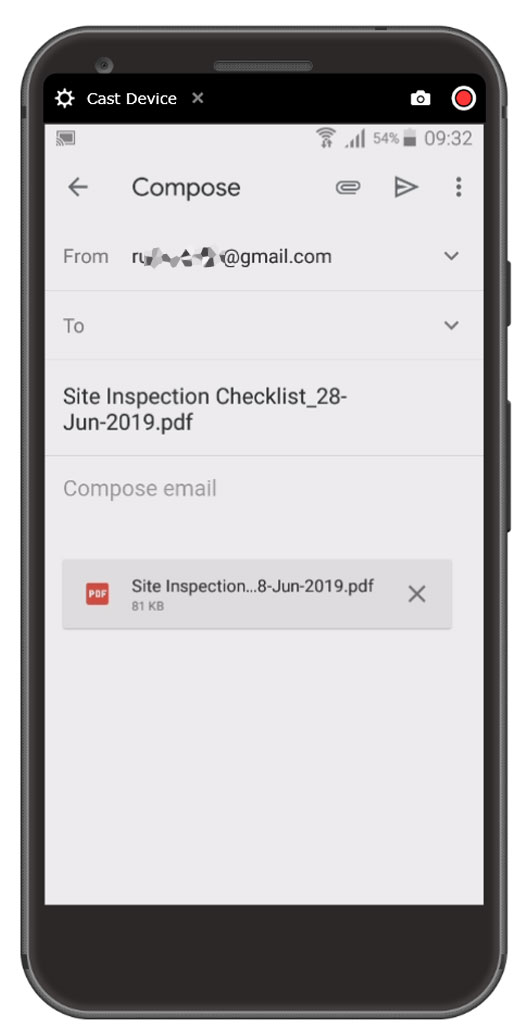
I selected Gmail as my mail option and the rest, as they say, should be a walk in the park...
Share
The share options you see will be dependent on your device and setup. Here's mine:
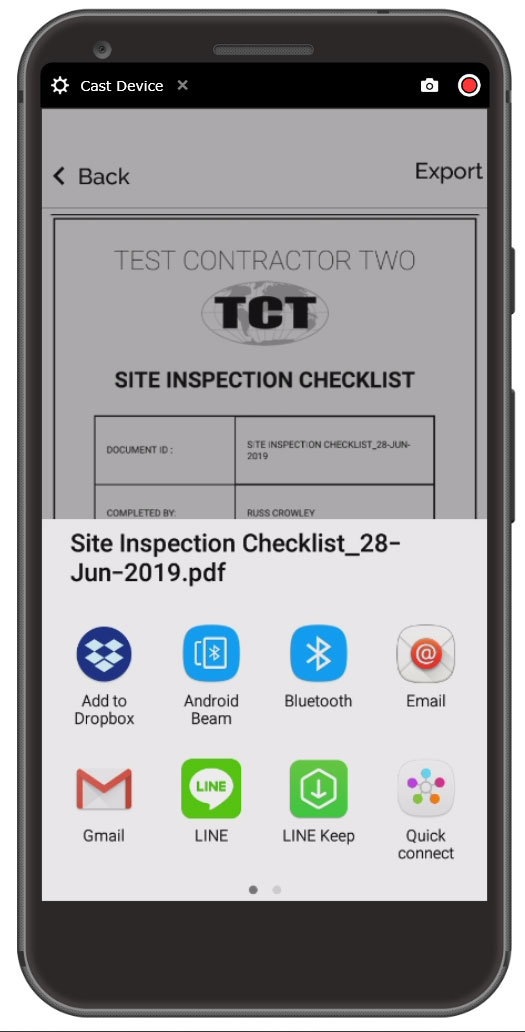
The Share screen (your device's option may differ)
If I select Dropbox, my own folder set is as follows. Unless I need to call the FBI, CIA, or the local enforcement team who deal with this kind of thing, your folder structure should be different:
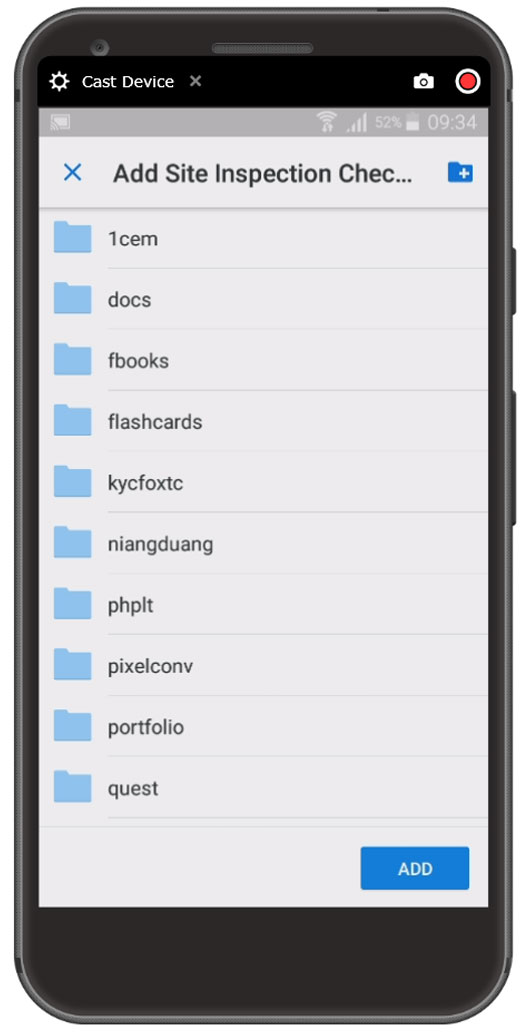
The export options - the display and the options will differ depending on your device
I won't dig into Dropbox functionality because they have their own stuff. But that's how you do it.
Updated almost 5 years ago
